The compilation of a YOLOv4 (GPU version) on Windows seems to be much more complex than in other platforms, for example to configure the environment. The article is aimed to introduce a method, that shows how we prepare the dependences and compile the YOLOv4.
The method is tested on Windows 10 2004, with Nvidia RTX 2070.
I. Prepare the Dependences
1) Install Anaconda
Anaconda is an open source that helps us to manage the python environment. With conda/ pip/ vituralenv can we simply manage and deploy the packages.
The software can be downloaded by —–> Link. Install it with default setting.
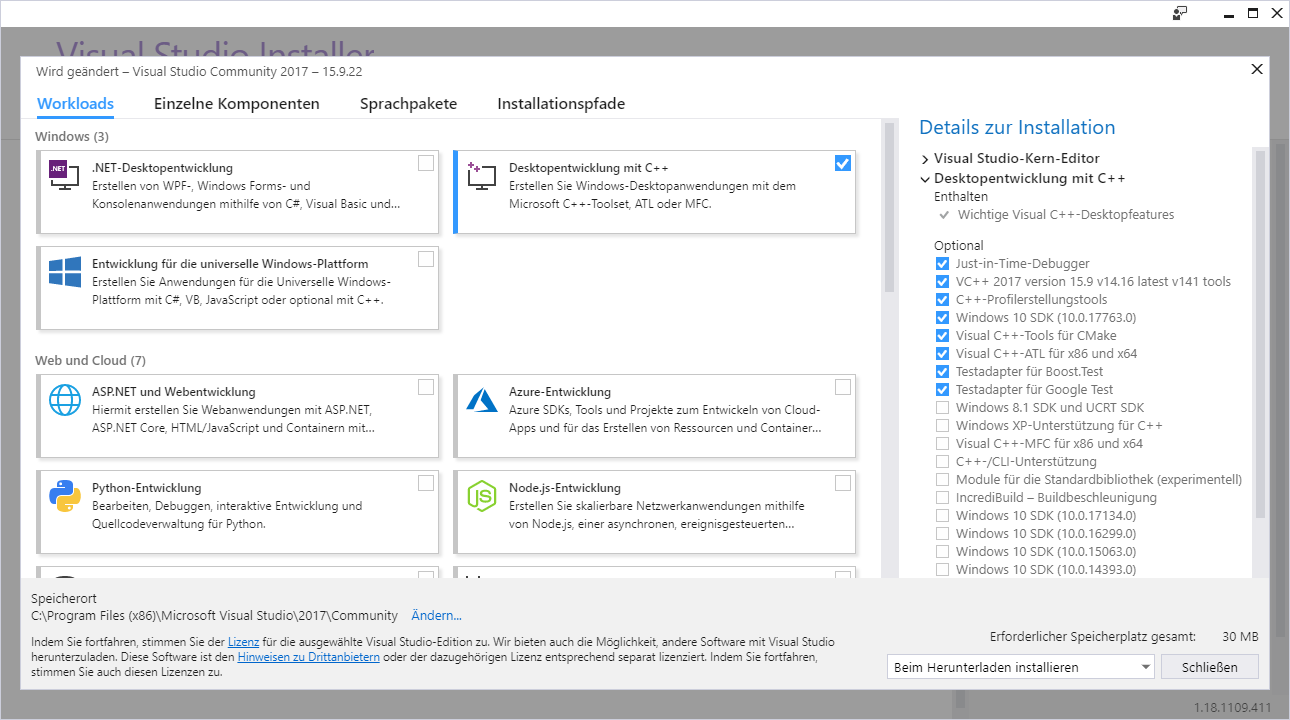
2) Install Visual Studio 2017
VS 2017 can be downloaded by —–> Link. Here what we need is the desktop development with C++.
3) Install CUDA and cuDNN
CUDA stands for “Compute Unified Device Architecture”. The parallel computing platform makes the GPU possible for complex computation. —–> (Link)
cuDNN is a library provided by Nvidia for deep learning. The library speed up the training and inference processes through the usage of GPU and supports many deep learning frameworks. —–> (Link)
Make sure to download the same version cuDNN for CUDA. Here we download the CUDA 10.1 driver.
The installation of CUDA and cuDNN can be declared as following steps:
- Install CUDA with default settings.
- Unzip the downloaded cuDNN zip file.
- Copy all the unzipped files to CUDA folder. If you never change the CUDA folder by installation, the default folder should be
C:\Program Files\NVIDIA GPU Computing Toolkit\CUDA\v10.1.
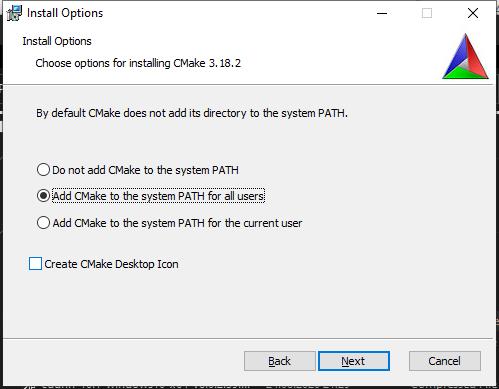
4) Install CMake
Download CMake from the official website, or just download cmake-3.18.2-win64 by —–> Link.
Choose to add its directory to the system PATH, so that we can call the program from any folder in command line.
5) Download and compile OpenCV
Download the OpenCV sources
OpenCV can be download by —–> Link. For the extended functions, we need to download the OpenCV_contrib from —–> Link.
Here we specifically download OpenCV 3.4.11. The version of OpenCV_contrib must match the OpenCV.
The downloaded OpenCV.exe is a self-extracting file, we can extract the file in C:\. Also, we can put the unzipped OpenCV_contrib in C:\opencv.
The folders in file tree:
C:\opencv\
build\
opencv_contrib-3.4.11\
sources\
LICENSE.txt
LICENSE_FFMPEG.txt
README.md.txt
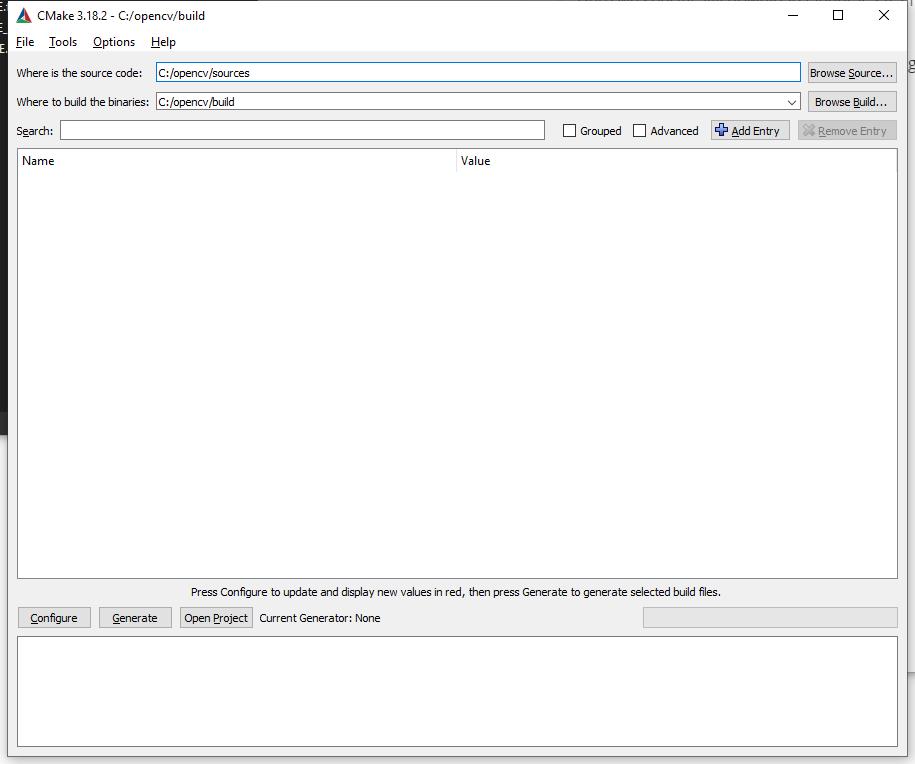
Compile with CMake
- Open the CMake_GUI. Choose the source and build folders, and then click
Configure.
- Choose
Visual Studio 15 2017and specify the platformx64, then clickFinish.
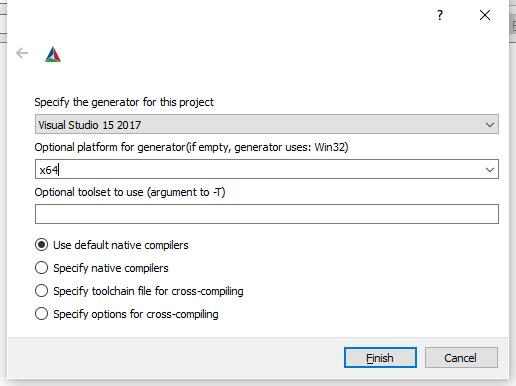
-
Wait and configure some parameters.
Parameters Value BUILD_EXAMPLES OFF BUILD_PERF_TESTS OFF BUILD_TESTS OFF BUILD_TBB OFF INSTALL_CREATE_DISTRIB ON INSTALL_C_EXAMPLES OFF INSTALL_PYTHON_EXAMPLES OFF OPENCV_EXTRA_MODULES_PATH C:\opencv\opencv_contrib-3.4.11\modules WITH_CUDA ON WITH_LAPACK OFF WITH_VTK OFF WITH_TBB OFF -
Click
Configureand wait. Before further action, we need to check the compute capability of your GPU from the official website. —–> linkMy GPU is GeForce RTX 2070, the compute capability is 7.5. So we need to configure some more parameters.
Parameters Value CUDA_ARCH_BIN 7.5 CUDA_ARCH_PTX 7.5 BUILD_opencv_saliency OFF BUILD_opencv_world ON -
Then click
Configureagain. Wait and thengenerate. -
Go to
C:\opencv\build, call command prompt by address bar.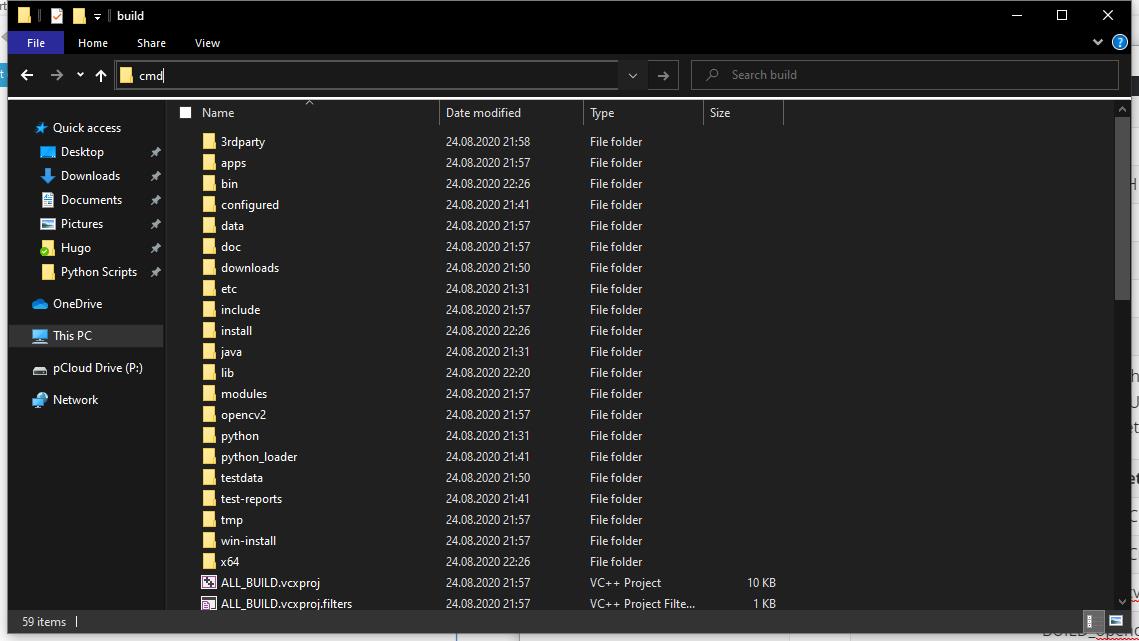
-
Compile OpenCV with the command:
1cmake.exe --build . --config Release --target INSTALL -
Modify the system environment variables.
Action Variable Value Create OPENCV_DIR C:\opencv\build Create OPENCV_VER 3411 Add PATH %OPENCV_DIR%\bin\Debug Add PATH %OPENCV_DIR%\bin\Release Add PATH %OPENCV_DIR%\install\x64\vc15\bin
II. Compile Darknet
1) Download source
Download from Github via git or http. —–> Link
2) Edit darknet.vcxproj
darknet.vcxprojOpen ~~darknet.vcxproj in folder darknet/build/darknet. Search:
|
|
Check if the following string is CUDA 10.1. Otherwise, change it to CUDA 10.1. You can only find two places.
3) Compile with darknet.sln
darknet.sln-
Open darknet.sln in the same folder, maybe VS 2017 will ask you to update the file to v141, just confirm. Then set the project toReleaseand choosex64platform. -
Set properties of darknet1. Level2. LevelStringVC++ DirectoriesInclude DirectoriesC:\opencv\build\includeVC++ DirectoriesInclude DirectoriesC:\opencv\build\include\opencvVC++ DirectoriesInclude DirectoriesC:\opencv\build\include\opencv2VC++ DirectoriesLibrary DirectoriesC:\opencv\build\x64\vc15\libLinker.InputAdditional Dependenciesopencv_world3411.lib -
Build solution and wait for compilation
2) Compile with script build.ps1
-
Check the execution policies, change the policy if necessary
-
run PowerShell as administrator
-
1Set-ExecutionPolicy -ExecutionPolicy RemoteSigned -Scope LocalMachine
-
-
Run the script
build.ps1to compile darknet-
run a PowerShell session by typing
powershellin the folder’s address bar, in the folder you can see the scriptbuild.ps1 -
1.\build.ps1
-
-
wait till the compilation is done
PS: If you can’t import cv2 in a python script, just copy the
.pydfile fromC:\opencv\build\python\cv2toC:\Users\{yourname}\anaconda3\Lib\site-packages.The
.pydfile should match the python version!!!